Course Overview
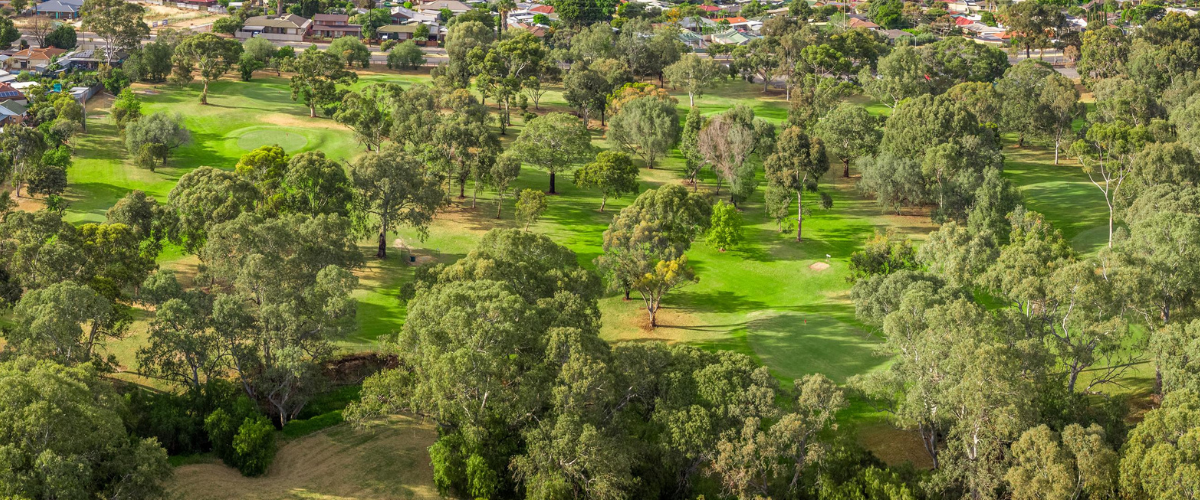
Picturesque 18-Hole Course
Our picturesque 18-hole course is set in the picturesque Thomas Turner reserve.With some tricky fairways, a water crossing and strategically located sand bunkers, the course is a fantastic way to master your short game.
The course is well maintained all year round to assist all players in having a fun and successful day on the green.
.jpg "hole-1-01-(1).jpg")
Hole 1 - 71m
Watch the tree on the left with your tee shot, but if you slice too far right, you may end up back in the car park.
.jpg "hole-2-01-(2).jpg")
Hole 2 - 78m
Running alongside Grand Junction Rd, the pressure is on to hit the right shot as the cars go by.
.jpg "hole-3-01-(3).jpg")
Hole 3 - 80m
With a collection of trees along the right side of the fairway, pin position anywhere right of the centre of the green may cause havoc.
.jpg "hole-4-01-(2).jpg")
Hole 4 - 74m
Straight up and Down Hole. This hole is one of 3 greens clustered together in a figure 8 so don’t aim for the wrong green.
.png "hole-5-not-7-(1).png")
Hole 5 - 68m
Straight forward short hole, difficult to get into trouble, houses on the right, the 4th green on the left, good chance at a birdie.
.png "hole-6-not-8-(1).png")
Hole 6 - 96m
Hitting over a water catchment, with Dry Creek on the right, keep left to avoid ball loss and watch the trees on the right-hand side.
.png "hole-7-not-5-(1).png")
Hole 7 - 70m
Hitting back into the course proper with the green as part of the figure 8 cluster, an extra club may be required with an uphill shot and elevated green.
The rolling fairway will cause trouble to miss hit tee shots.
.png "hol-8-not-6-(1).png")
Hole 8 - 126m
The second longest and second hardest hole on the course, with overhanging branches along the left-hand side, a solid strike will be necessary to avoid trouble.
.jpg "hole-9-01-(2).jpg")
Hole 9 - 71m
Central to the golf course, the 9th hole is a simple hole for a straight up and down par.
/hole-10-01-(1).jpg "hole-10-01-(1).jpg")
Hole 10 - 146m
/hole-11-01-(1).jpg "hole-11-01-(1).jpg")
Hole 11 - 63m
/hole-12-01-(1).jpg "hole-12-01-(1).jpg")
Hole 12 - 97m
/hole-13-01-(1).jpg "hole-13-01-(1).jpg")
Hole 13 - 67m
/hole-14-01-(1).jpg "hole-14-01-(1).jpg")
Hole 14 - 72m
/hole-15-01-(1).jpg "hole-15-01-(1).jpg")
Hole 15 - 60m
/hole-16-01-(1).jpg "hole-16-01-(1).jpg")
Hole 16 - 60m
/hole-17-01-(2).jpg "hole-17-01-(2).jpg")
Hole 17 - 100m
/hole-18-01-(1).jpg "hole-18-01-(1).jpg")